Sending screener emails
Editing Screener Email
After you've built and previewed your screener, you can create a Bulk Email to send to your panelists. This is done on the Study > Screener page, in the Bulk Screener Email tab. If you don't have a screener yet, you can create one by following our Creating a screener guide.

- Custom data can be added to your email from the Merge Tags drop-down, and when pasted in looks something like this:
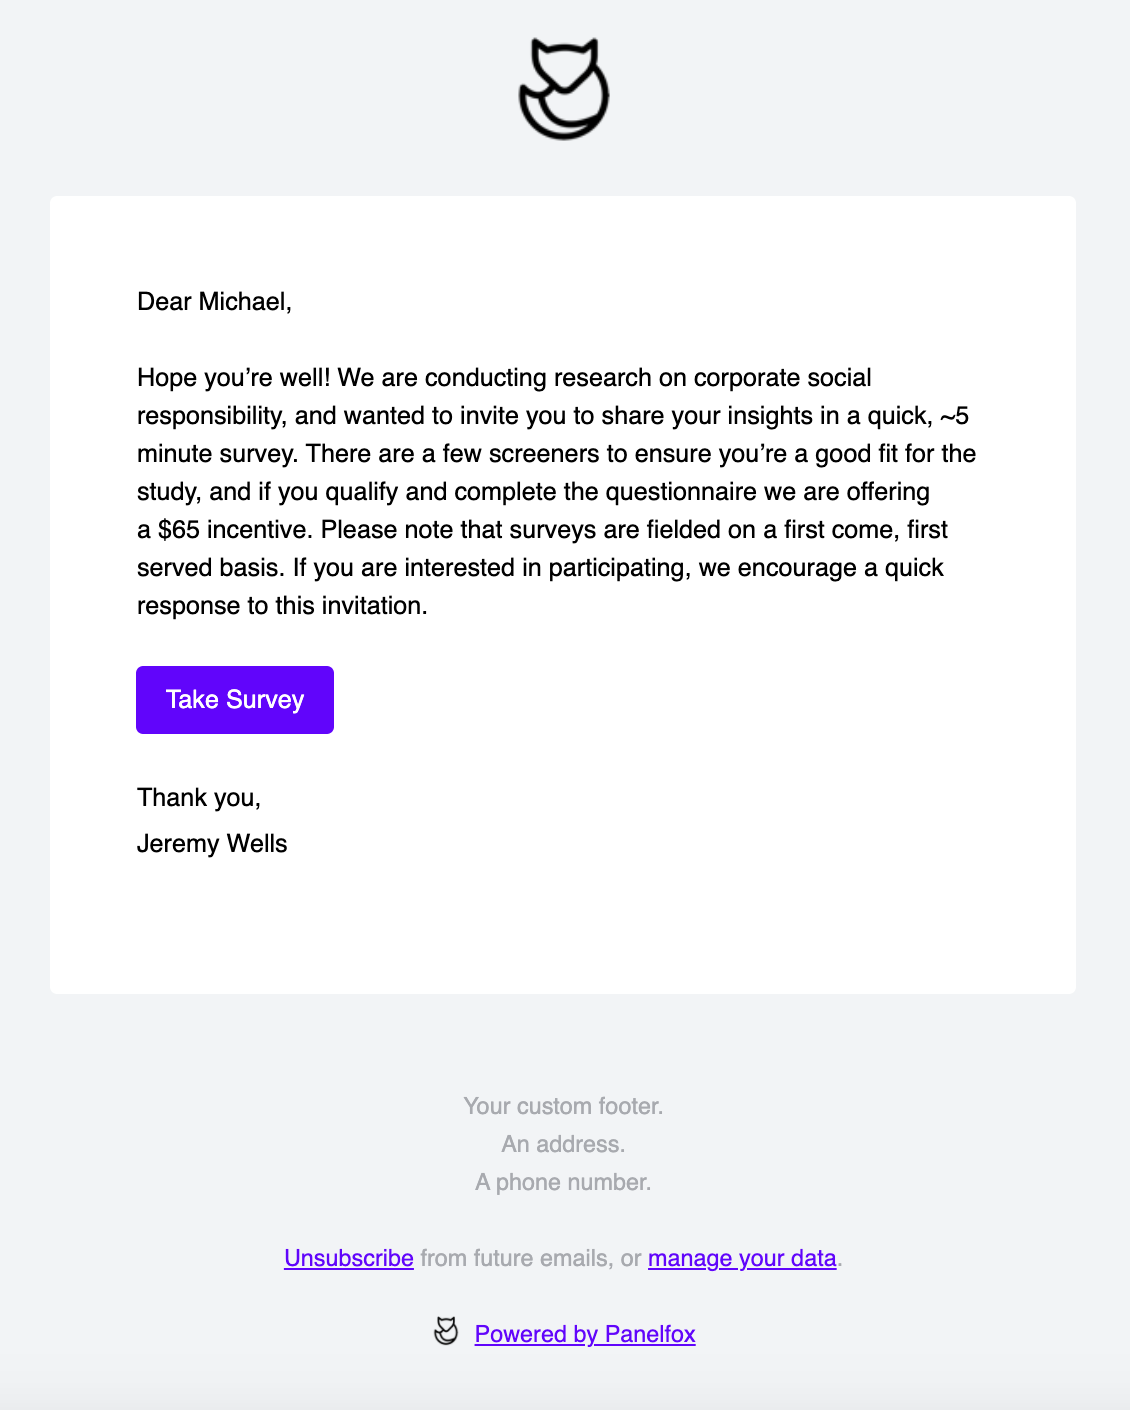
{First Name}. - The image below shows you a preview of what that email looks like, with custom branding, and panelist consent management links (e.g. opt out, delete my data).

Sending Email
- To send to your panelists, go to the study's Overview tab. Tick the checkbox beside the panelists that you'd like to send the email to.
- Click the Send Message drop-down button. Select Send Screener "[Screener Name]" from the options.
- The preview of the email will pop-up. Click the Send to # people button.

Or, if you're going to send to all of the panelists for that study, click the checked box icon beside the Full Name column header then choose Select all from the drop-down options.


